Incident Response and Threat Hunting with Redline:Power of Live Memory Analysis Part 1


Introduction
In today's cybersecurity landscape, it's crucial to have effective tools and techniques to identify and respond to security incidents swiftly. Redline, a powerful open-source tool developed by FireEye, is designed to assist in incident response and threat hunting by creating an analysis file from the live memory of a computer. In this blog, we'll dive into the world of Redline, explore its capabilities, and provide a step-by-step guide on how to download, install, and utilize Redline to collect and assess critical data for incident response and threat hunting.
Understanding Redline
Redline is a memory analysis tool that allows cybersecurity professionals to gather crucial information from a computer's volatile memory (RAM). It assesses the computer by analyzing memory artifacts, such as running processes, network connections, loaded drivers, and open files. These artifacts help identify potential indicators of compromise (IOCs) and detect malicious activities.
Downloading and Installing Redline
To get started with Redline, follow these steps to download and install it on a Windows machine:
Step 1: Visit the official FireEye Redline website and download it from here https://fireeye.market/apps/211364
Step 2: Choose the appropriate version of Redline for your Windows operating system (32-bit or 64-bit) and click on the download link.
Step 3: Once the download is complete, locate the setup file and run it.
Step 4: Follow the on-screen instructions to install Redline on your system.
Collecting Data with Redline
Redline provides a variety of options for data collection, allowing you to gather essential information for analysis. One of the key features is the "Create a Standard Collector" option, which configures a data collection package tailored to Redline's assessment needs. Here's how to use it:
Step 1
Launch Redline after installation and click on "Create a standard Collector" See highlighted option in the screenshot

Step 2
Select the target platform for this series we shall be working with Windows, Click on edit your script to collect more data about the host, you can also acquire an image memory for the accuracy of process and drivers analysis and a destination folder to save your files for analysis

When you click on Edit your script you will be able to see the following information and use it to acquire more data about the host, Memory, Disk, System and Network.


Click ok after browsing and selecting the destination folder and the first process will happen.
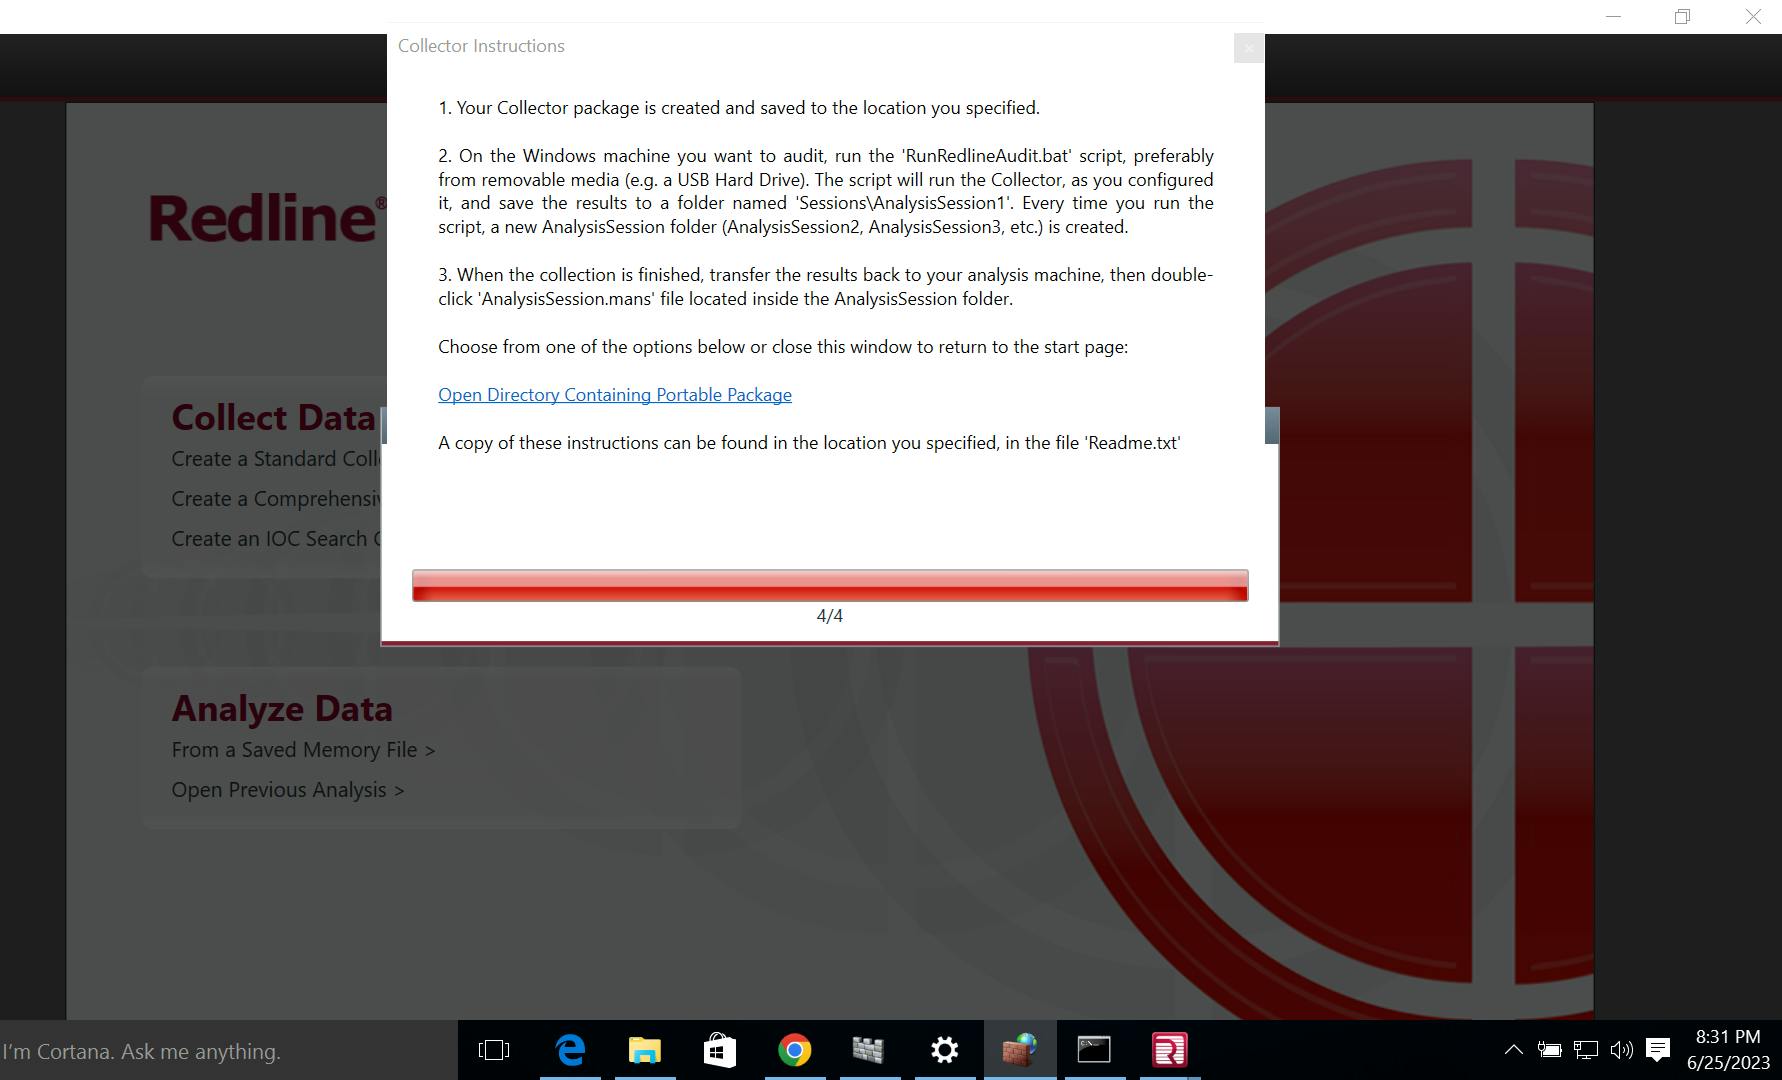
Step 3
Your Collector package is created and saved to the location you specified.
On the Windows machine you want to audit, run the 'RunRedlineAudit.bat' script, preferably from removable media (e.g. a USB Hard Drive).
The script will run the Collector, as you configured it, and save the results to a folder named 'Sessions\AnalysisSession1'.
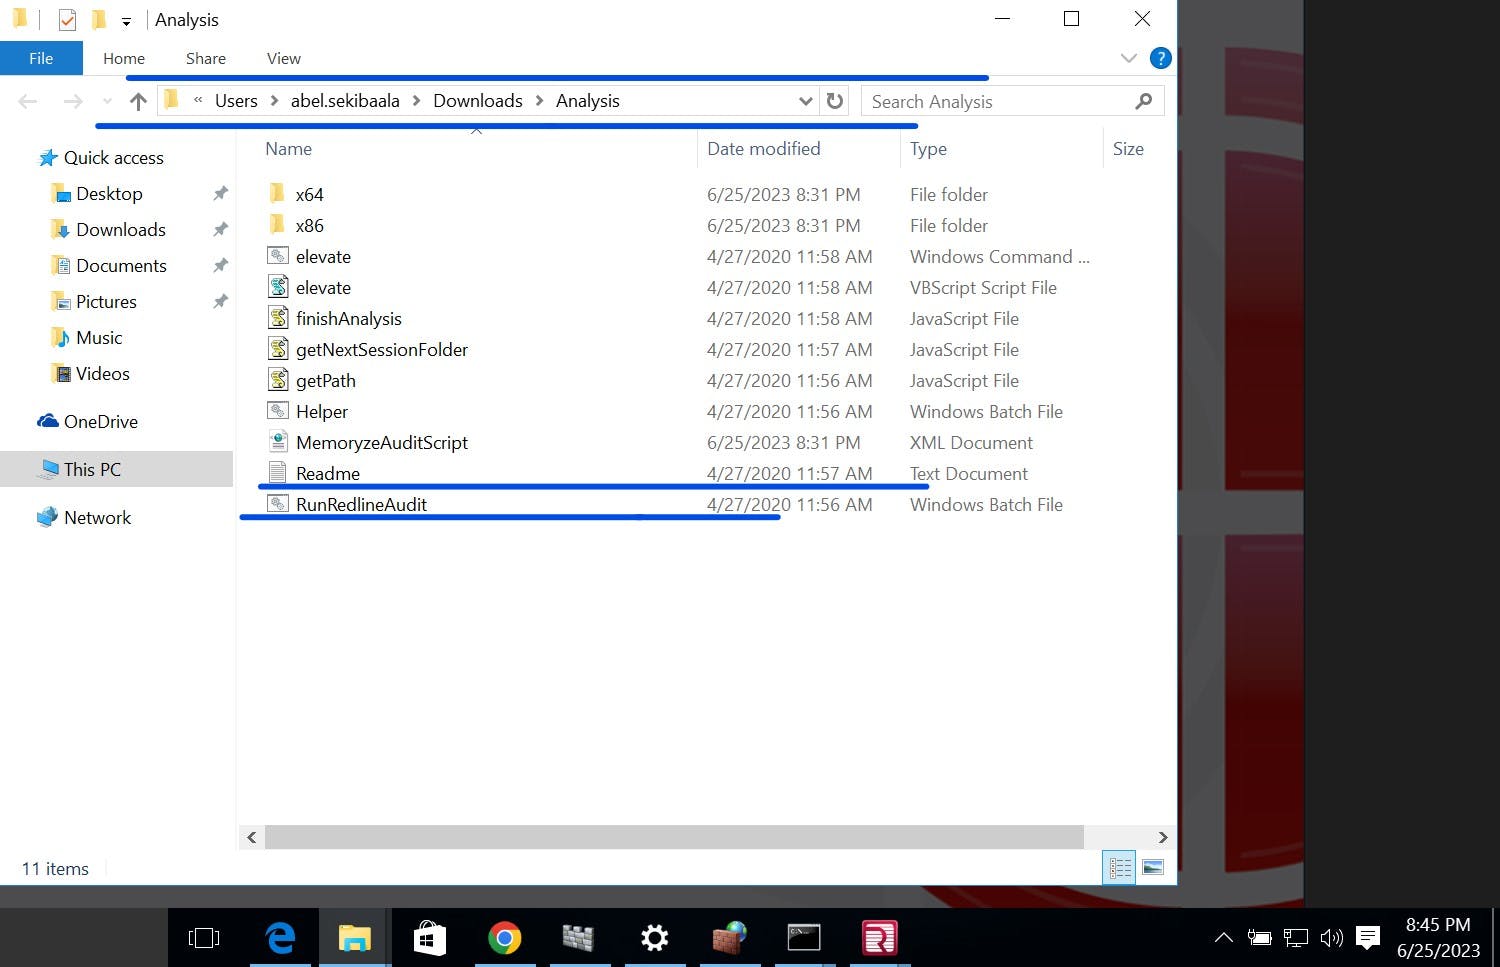
Select the option below and open Command Prompt as an Administrator and navigate to the file location in the directory and RunRedlineAudit.bat

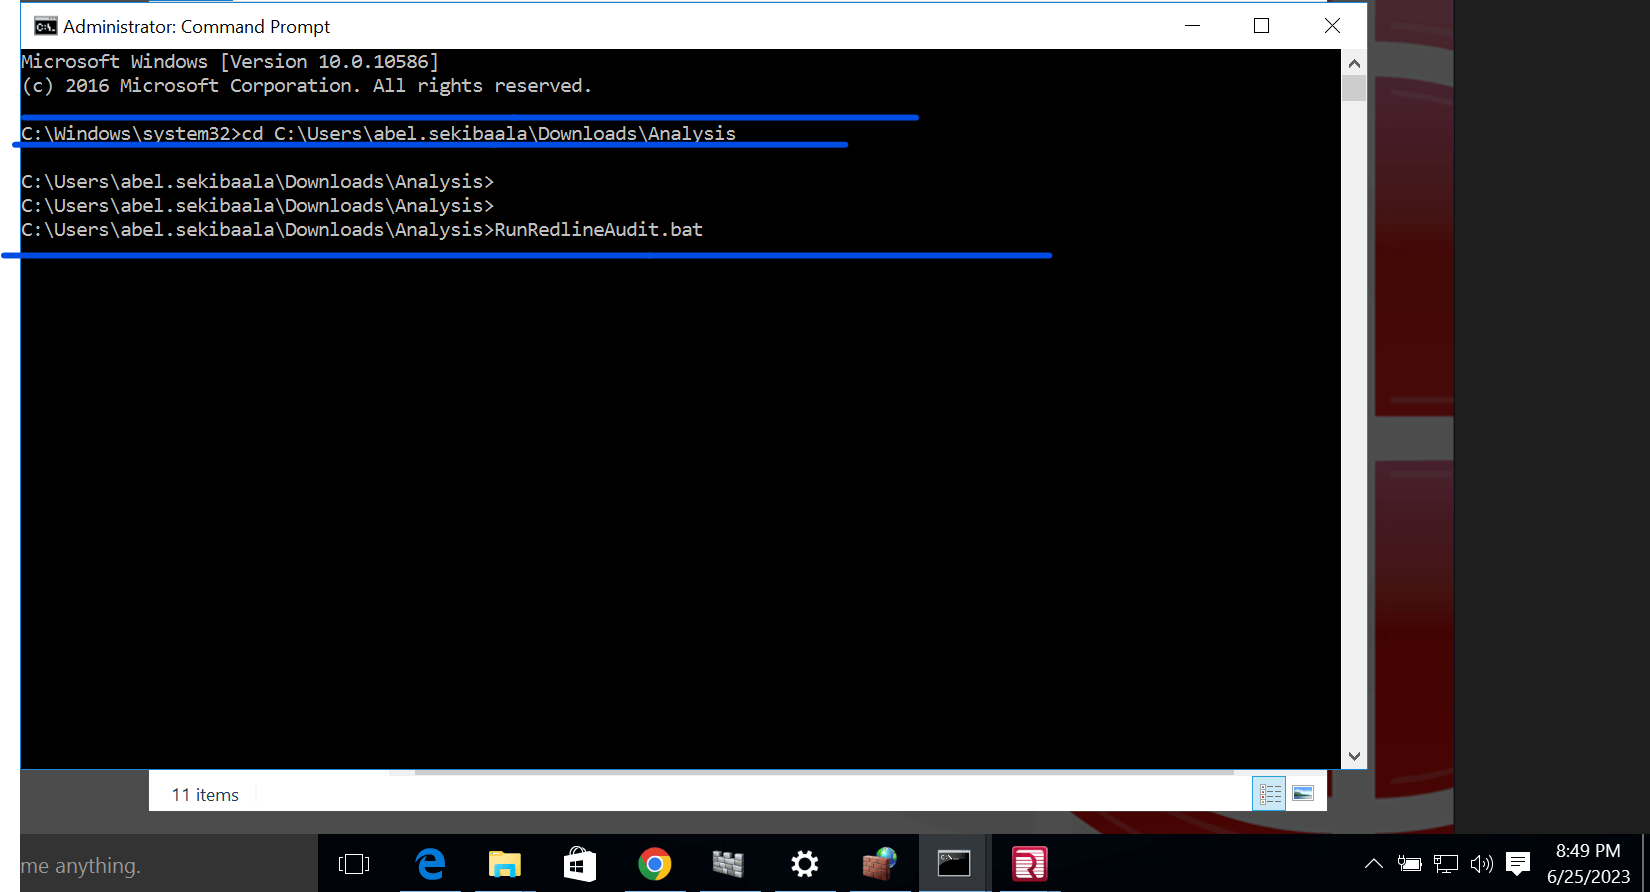
RunRedlineAudit.bat will Execute and create a Sessions folder in the same location.

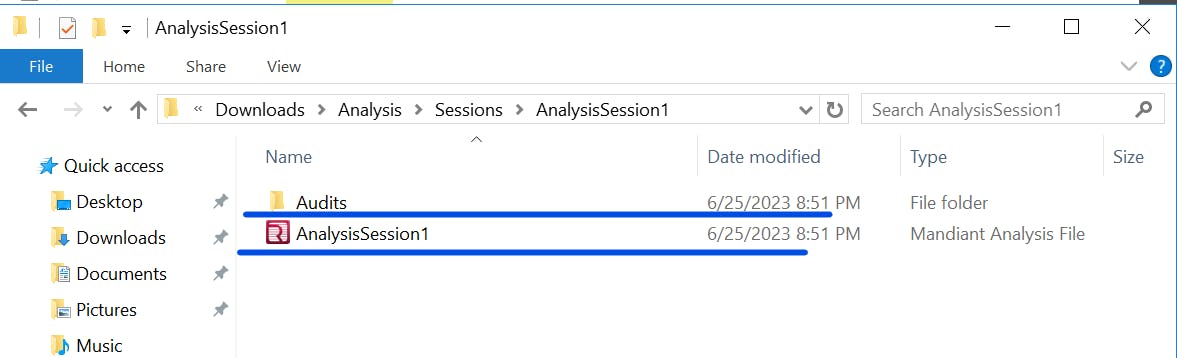
The folder contains AnalysisSession1 folder when you run the bat file again it creates AnalysisSession2 folder.

Click on the folder and click on the AnalysisSession1 analysis file
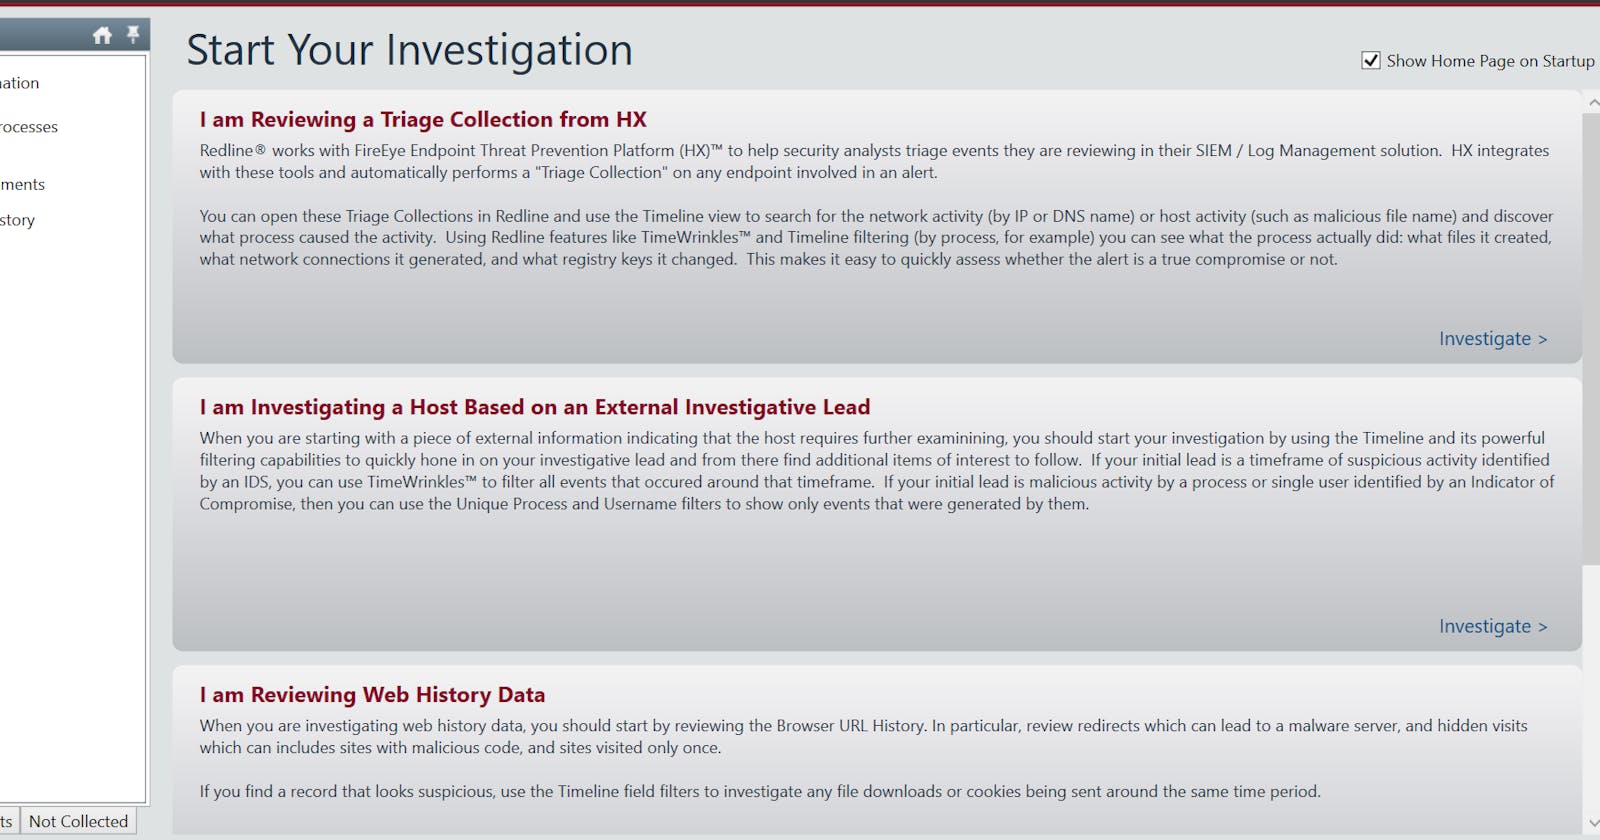
You will be presented with the following window for investigations


Conclusion
Redline is a powerful tool that significantly enhances incident response and threat-hunting capabilities by extracting critical information from a computer's live memory. Let's watch out for part 2 where we dive deep and analyze the data collected for the host.
Learn to solve real problems, Follow me on:
Linkedin, Github, Twitter, Hashnode and Medium for more insights.